
Tired of sacrificing style for space? A DIY Murphy bed might just be your home’s new secret weapon. Whether you’re living in a small apartment, designing a guest-friendly home office, or just craving more room to breathe, this fold-away bed offers elegance, utility, and charm—without breaking the bank.
In this guide, we’ll walk you through everything from understanding what a Murphy bed is to building your own step-by-step, styling it to match your decor, and avoiding common pitfalls along the way.
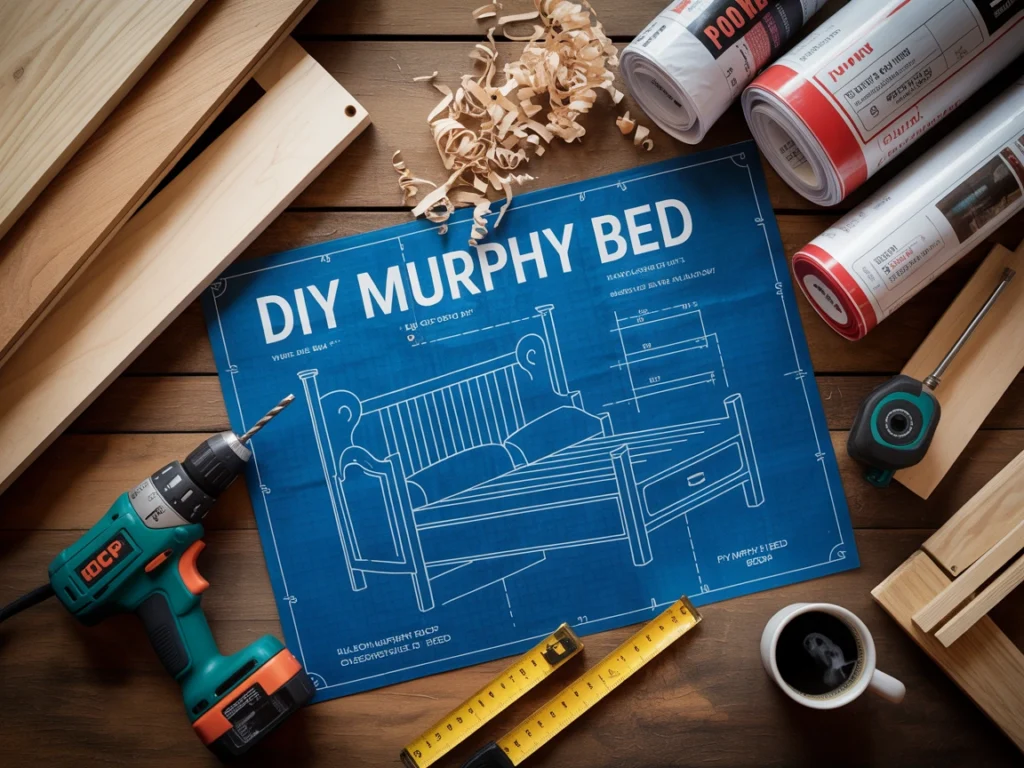
Why a DIY Murphy Bed Is the Space-Saving Hero of Cozy Homes
What Is a Murphy Bed and How Does It Work?
A Murphy bed—also known as a wall bed—is a foldable bed that tucks vertically or horizontally into a wall or cabinet when not in use. Designed over a century ago by William Lawrence Murphy, it’s the original smart space-saver.
Picture this: one moment, you’re entertaining guests in your sleek home office, and the next—voilà!—you pull down a comfy, queen-size bed with a gentle tug. Thanks to hidden hinges, hydraulic lifts, and smooth counterbalances, modern Murphy beds are safer and more stylish than ever.

Should You Build a DIY Murphy Bed at Home?
Absolutely—if you’re handy, patient, and love a good weekend project. Building your own Murphy bed lets you:
- Save up to 70% compared to store-bought models
- Customize it to fit your exact room layout and style
- Use higher-quality materials than most kits offer
A homemade Murphy bed can become the centerpiece of a multi-use room. Imagine a library wall that hides a bed. Or a kid’s room that transforms into a play space. If you enjoy woodworking, this is a fun and rewarding challenge.
Is Building a DIY Murphy Bed Cheaper Than Buying One?
Yes—dramatically.
Store-bought Murphy beds can cost between $2,000 and $4,000, especially if you want extra shelves, desks, or a fancy finish. With a DIY plan and quality materials, you can build a custom wall bed for under $700.
Let’s break it down:
- Plywood & trim: $150–$250
- Hardware kit (hinges, lifts, legs): $200–$300
- Paint, stain, & screws: $100
- Optional add-ons (shelves, lighting): $50–$100
More than saving money, you get to build a piece of furniture you’re proud of. Plus, you can select durable materials, unlike some particleboard beds that sag after a year.
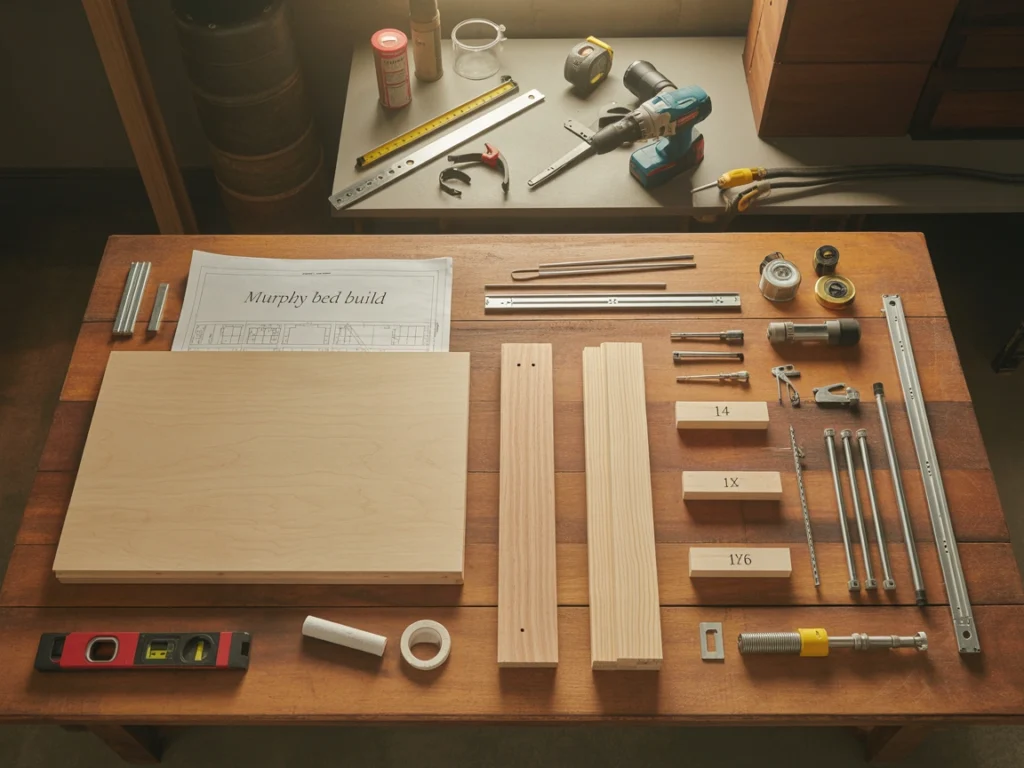
Prepping Your DIY Project: Tools, Plans & Smart Choices
Before you break out the power tools, let’s get organized. Prepping well means fewer mistakes, smoother assembly, and a Murphy bed that feels like it came straight from a high-end showroom.
What Size Murphy Bed Should You Build? (Twin, Queen, King)
Choosing the right size depends on both your room and your needs:
- Twin Murphy Bed: Ideal for small rooms, kids’ spaces, or narrow guest areas.
- Queen Murphy Bed: The sweet spot—plenty of space for two adults, fits most rooms.
- King Murphy Bed: Best for master bedrooms or large studio apartments—just ensure you have the wall width and floor clearance.
📐 Pro tip: Measure your ceiling height too! A vertical queen bed usually needs at least 85 inches of height clearance when raised.

What Materials and Hardware Do You Need for a Murphy Bed?
Here’s your essential DIY Murphy bed shopping list:
Materials:
- 3/4″ plywood or MDF – for the frame, face panel, and support slats
- 1×4 or 1×6 boards – for reinforcement and trim
- Wood glue, screws, wood filler, paint or stain
Hardware (can be purchased as a Murphy bed kit):
- Hinges – strong enough to support full-frame movement
- Gas pistons or spring mechanisms – for smooth lifting
- Folding legs – often included in kits
- Bed frame brackets – to secure the mattress
If you’re not buying a full kit, you’ll also need:
Safety goggles
Circular saw
Power drill
Tape measure
Level
Sandpaper
Stud finder
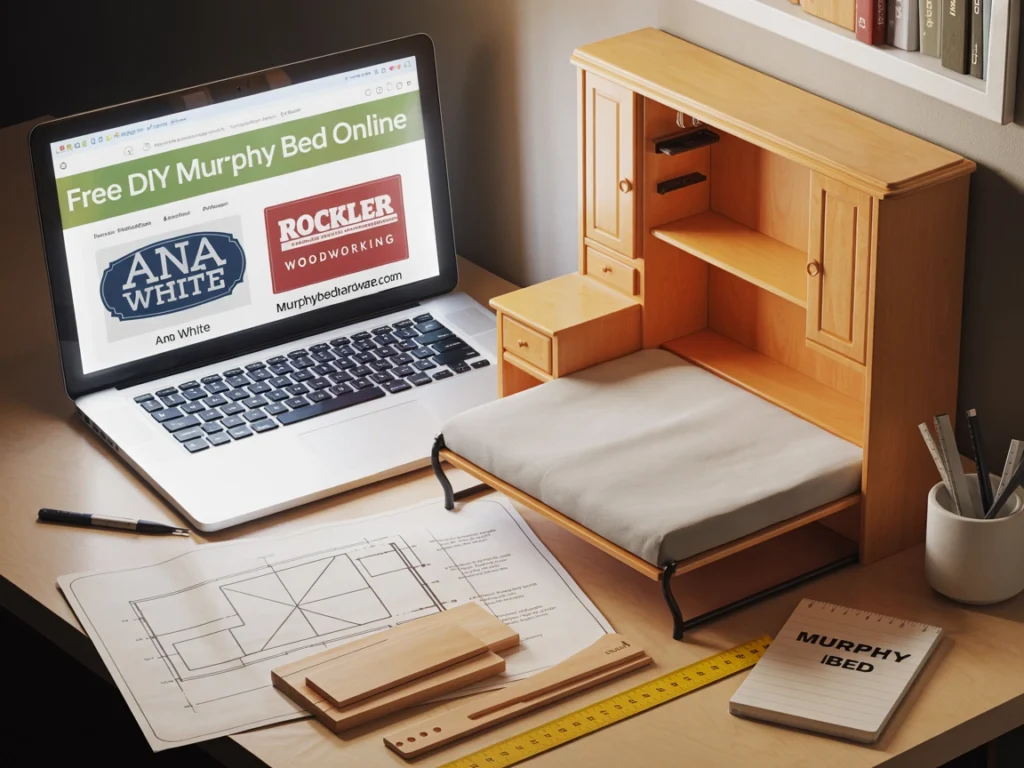
Where Can You Find Free DIY Murphy Bed Plans Online?
You don’t have to pay for great plans. Here are 3 solid sources to grab free Murphy bed blueprints:
- Ana White – Excellent beginner-friendly designs, often with desk add-ons
- Rockler Woodworking – Known for offering free downloadable PDFs with pro-level instructions
- MurphyBedHardware.com – Offers plans tailored to specific kits they sell
Make sure your chosen plan includes:
Instructions on anchoring to the wall safely
A cut list (saves time at the hardware store)
Clear measurements for your face panel and cabinet depth
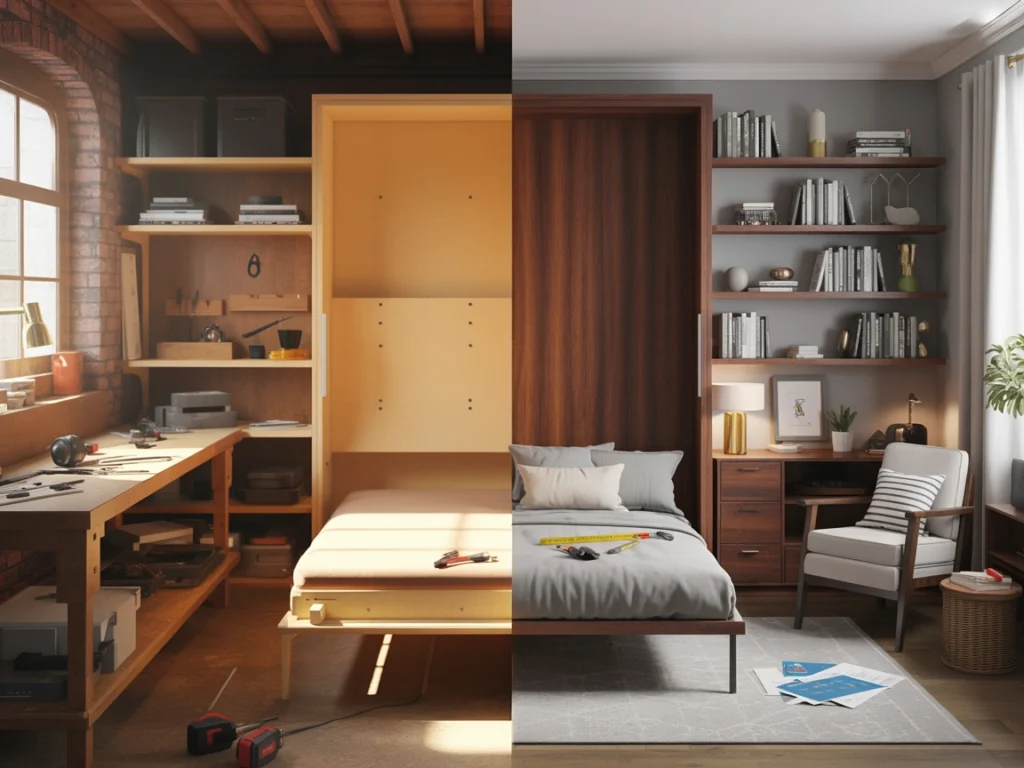
Step-by-Step Build: How to Make a DIY Murphy Bed That Wows
You’ve got the tools, plans, and vision—now it’s time to build. This section walks you through the full DIY Murphy bed process, whether you’re aiming for rustic charm, modern minimalism, or hidden bookshelf magic.
Should You Build a Horizontal or Vertical Murphy Bed?
This one decision shapes your entire build:
- Vertical Murphy Bed (opens top to bottom):
- • Traditional style
- • Ideal for taller rooms
- • Looks like a tall cabinet when closed
- • Better for guest rooms and studios
- Horizontal Murphy Bed (opens side to side):
- • Great for low-ceiling rooms or under windows
- • More compact, wider footprint
- • Perfect for office nooks, kids’ rooms, or under-sloped attics
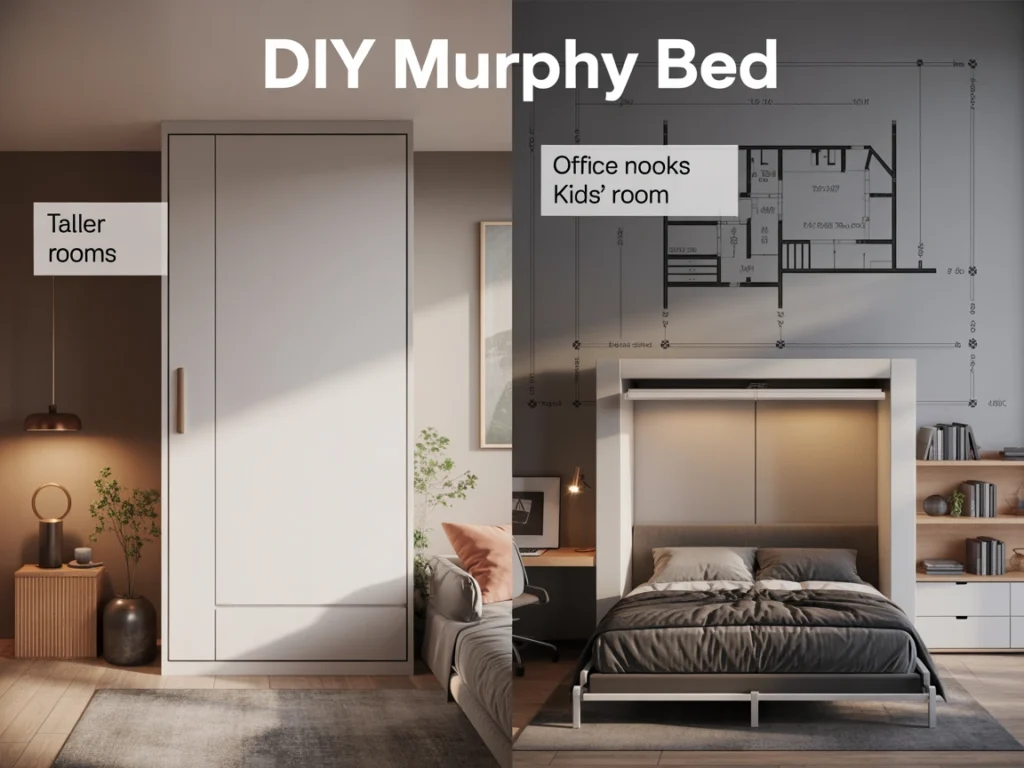
💡 Tip: If you’re placing the bed in a room with low ceilings (under 8 ft), go horizontal.
How to Build a Murphy Bed Frame from Scratch
Here’s a simplified version of the process based on top-rated Murphy bed plans:
- Build the Bed Box (or Cabinet):
- • Cut your plywood for the back panel and two side panels
- • Assemble them into a U-shaped cabinet using screws and glue
- • Add support slats inside the box (if plan requires)
- Construct the Bed Frame:
- • Build a rectangular frame to fit your mattress
- • Reinforce corners with metal brackets
- • Attach a face panel for a sleek cabinet look when closed
- Anchor the Cabinet to Wall Studs:
- • Use a stud finder and secure with heavy-duty lag screws
- • Double-check your cabinet is level — crucial for smooth opening
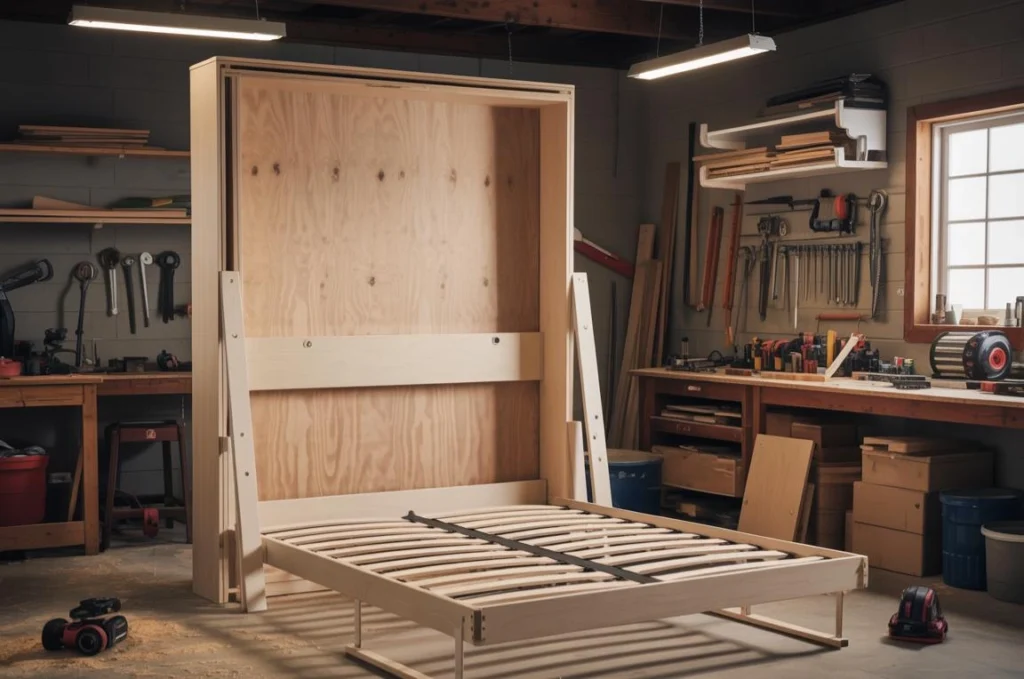
💡 Internal tip: Include anchors rated for 300+ lbs for peace of mind.
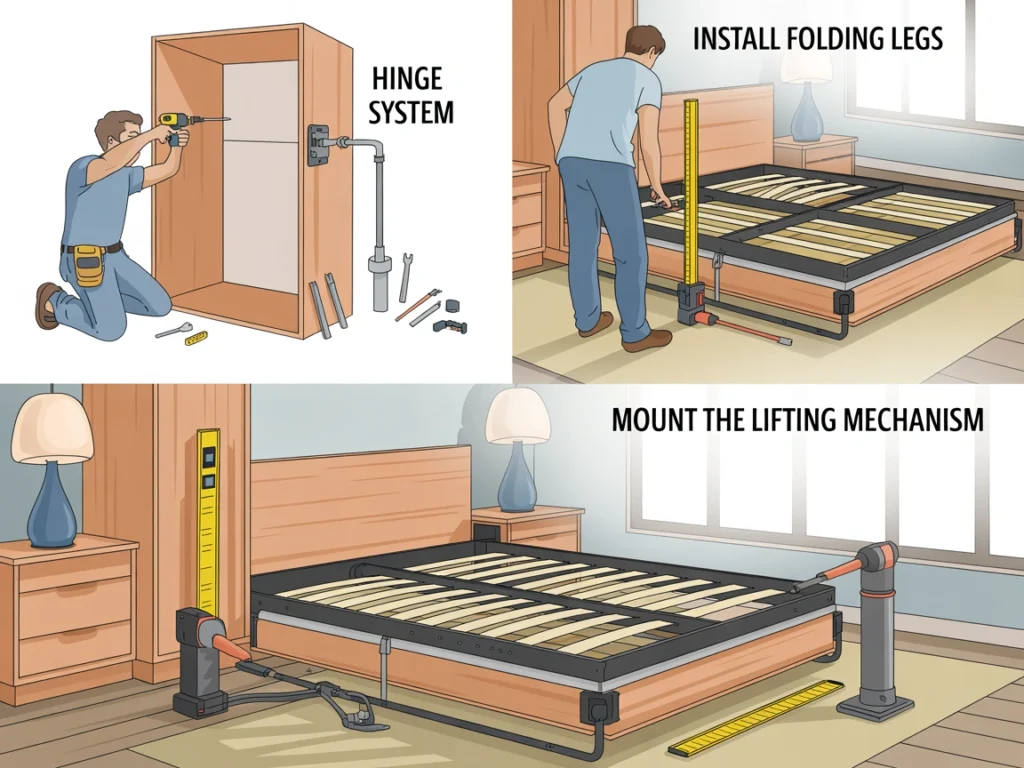
How to Install Hinges, Legs, and Lifting Mechanisms
This installation step is where all the components come together—safely.
- Attach the Hinge System:
- • Follow your hardware kit’s instructions to connect the bed frame to the cabinet
- • Common types: pivot hinges, torsion springs, or gas piston lifts
- • Use a clamp to hold pieces in place during install
- Install Folding Legs:
- • Legs can either fold up manually or auto-deploy
- • Align properly to keep bed level when open
- Test the Lift:
- • Open and close the bed slowly
- • Adjust spring tension if needed
- • Add safety stops or soft-close dampers for extra control
💬 Personal note: “I’ll never forget the first lift test—heart pounding! But it held perfectly.”
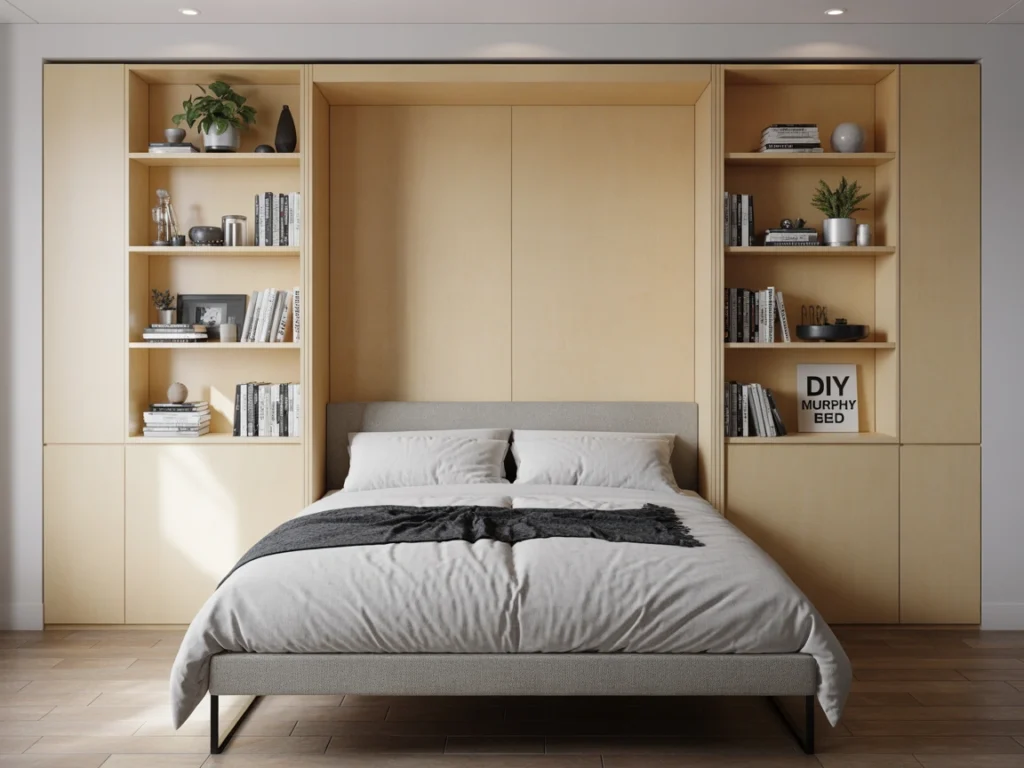
Style It Up: Decorating and Using Your Murphy Bed Daily
Once your Murphy bed is built, it becomes more than just a hidden bed — it’s a multifunctional centerpiece. Let’s make it beautiful, practical, and a seamless part of your decor.
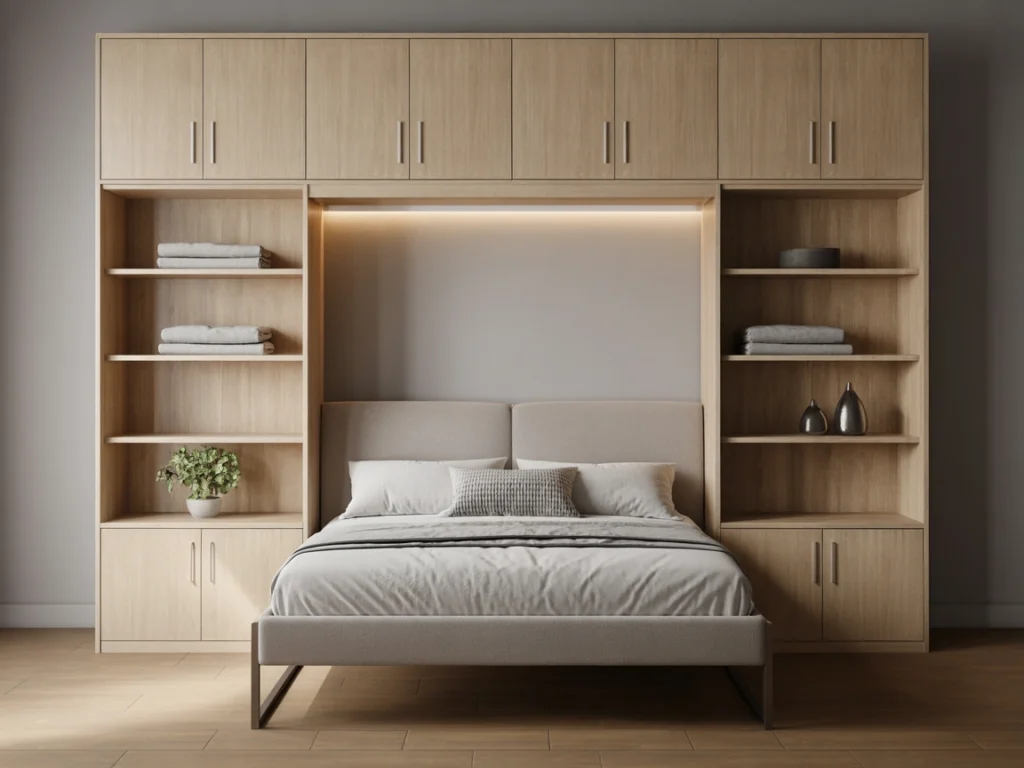
Can You Add Storage or Built-In Shelves to a Murphy Bed?
Absolutely — and it’s one of the biggest perks of building it yourself.
Here’s how you can upgrade the basic bed into a versatile storage solution:
- Side Bookcases: Frame the bed with tall shelves for books, decor, or baskets.
- Overhead Cabinets: Add cabinetry above the bed cabinet to store linens or out-of-season clothes.
- Floating Nightstands: Build narrow pull-out trays or fold-down tables attached to the side walls.
🔧 DIY Tip: Be sure your shelving doesn’t block the bed’s swing radius!

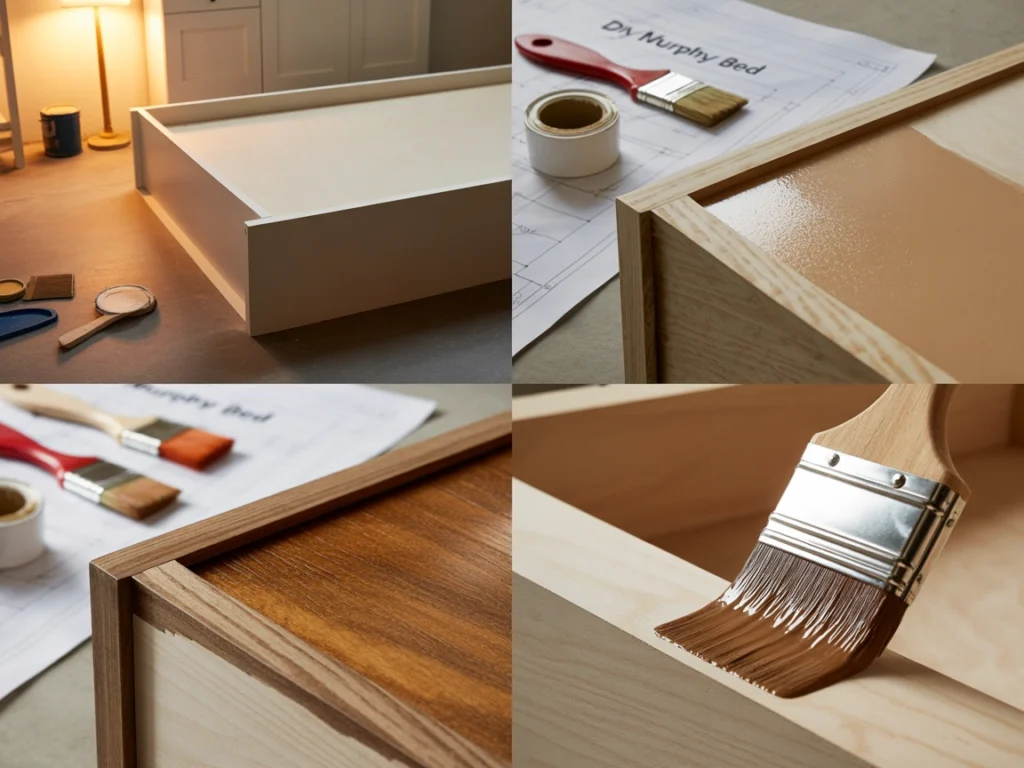
How to Paint and Finish Your DIY Murphy Bed
The right finish takes your Murphy bed from “handmade” to “high-end.” Depending on your room style:
- Modern: White, charcoal, or navy with matte or satin paint
- Boho or Rustic: Stained woodgrain with soft, warm tones like chestnut or pine
- Minimalist: Soft grays or monochrome with clean lines
Finishing tips:
- Sand every edge for a smooth, splinter-free feel
- Use wood filler on screw holes before painting
- Apply two coats of primer and two coats of paint/stain
- Seal with polyurethane if you’re going for a natural wood look
🎨 Pro Touch: Add crown molding or shaker-style trim for a custom built-in appearance.
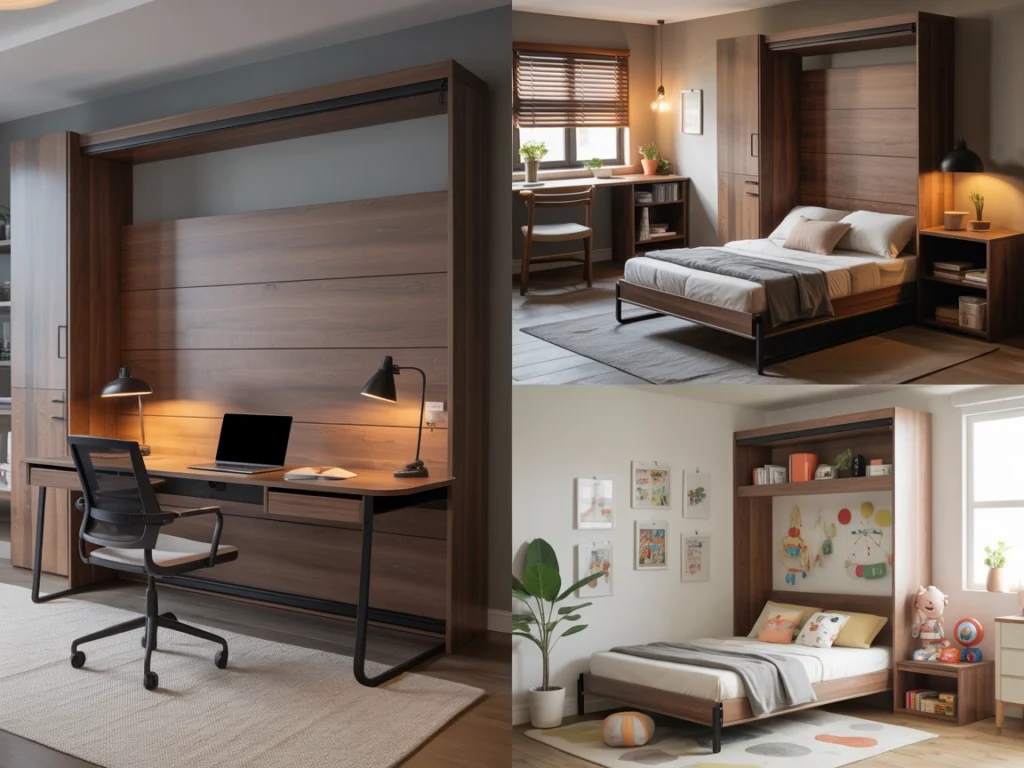
How to Use a Murphy Bed for Everyday Living
Your DIY Murphy bed can do more than just sleep with guests. With smart placement and accessories, it becomes a functional part of daily life:
- In a home office: Fold it up and reclaim your work zone.
- In a studio: Use it with a fold-down table or desk combo.
- In a kid’s room: Give them play space by day and sleep space by night.
💡 Add-ons that make it daily-friendly:
- LED lighting inside the cabinet
- USB or plug outlets nearby
- Soft-close pistons for effortless lifting
- Straps or mattress clips to secure bedding inside
📣 Quote from a DIYer:
“I use mine every night, and honestly, I forget it’s even a Murphy bed. It’s that seamless!”
Final Tips and Troubleshooting for DIY Murphy Beds
Even the best DIYers hit a snag or two — don’t worry, that’s part of the process. Here’s how to finish strong, avoid common errors, and make sure your Murphy bed is safe, solid, and stunning.
What Are the Most Common Mistakes When Building a Murphy Bed?
Here’s what trips up many first-timers — and how to avoid them:
❌ Not anchoring to wall studs
Your Murphy bed must be anchored to studs, not just drywall. Otherwise, it could tip forward and cause injury.
❌ Skipping the cut list
Always use a pre-verified cut list from a trusted plan. A misaligned panel can throw off the entire assembly.
❌ Buying weak hardware
Your lift system matters. Don’t skimp on gas pistons or spring-loaded hinges. Poor-quality hardware = stiff motion and unsafe usage.
❌ Overdecorating the face panel
It’s tempting to get artsy, but keep the bed face flat to ensure smooth folding. Save the flair for surrounding shelves or trim.
How Much Weight Can a DIY Murphy Bed Hold?
It depends on your hardware kit and materials — but most DIY Murphy beds support 250 to 1,000 lbs.
Here’s a quick breakdown:
- Twin-sized DIY beds: ~250–400 lbs
- Queen-sized DIY beds: ~500–600 lbs
- With reinforced brackets or metal frames: up to 1,000 lbs
🛠 Tip: Always check the specs on your hardware kit for the exact weight capacity and mattress limit. And don’t forget to add reinforcement if two people will be using it regularly.
Conclusion: Build Smart, Sleep Stylish
Creating your own DIY Murphy bed isn’t just about saving space—it’s about taking control of your home’s functionality without sacrificing beauty. With the right plan, a few tools, and a bit of patience, you can transform even the tightest room into a multi-use sanctuary that feels custom-designed.
Whether you choose a twin Murphy bed with hidden storage or a queen-size fold-down masterpiece with built-in shelves, the result is the same: a space that works smarter, not harder. You’ve now got the steps, tools, and inspiration to make it happen—one screw, panel, and proud moment at a time.
Ready to reclaim your square footage and impress your guests? Start building your DIY Murphy bed today—and enjoy the kind of clever comfort that only you could create. 🛠️💫